

If you’re planning your first Shinkansen journey, the trains themselves are the easy part. The confusing bit is everything around them: figuring out which Shinkansen line you need, choosing between Nozomi, Hikari, and Kodama, deciding whether a JR Pass makes sense, knowing where to buy your ticket, and working out what to do with a large suitcase.
I’ve put this guide together to make the whole process straightforward. I’ll walk you through everything you need to know before your first ride, from choosing the right train and booking your ticket to finding your platform, picking a seat, handling oversized luggage, and grabbing an ekiben before departure.
By the time you reach the end, you should know exactly which train to take, how to book it, where to sit, and what to expect when you arrive at the station. No railway expertise required.
TL;DR
If you only read one section, read this one:
- The Shinkansen is a network of ten separate lines, not one train, run mostly by JR East, JR Central, and JR West.
- Three train types (Nozomi, Hikari, Kodama) run the same tracks but stop at different numbers of stations, changing your speed, price, and pass eligibility.
- The nationwide JR Pass is worth it if you’re covering serious ground across regions; a regional pass is usually cheaper if you’re staying in one area.
- Book through SmartEX, JR-EAST’s reservation site, Klook, or Trip.com, or just use a station machine once you land.
- Luggage over 160cm (combined dimensions) needs a reserved seat with a designated baggage area, or you’ll pay a ¥1,000 penalty.
- Reserved seats guarantee comfort during peak season; unreserved seats are cheaper but not guaranteed during busy windows.
Now, the full picture.
What the Shinkansen actually is
Japan’s bullet train network has been running since October 1964, starting with the Tokaido line between Tokyo and Osaka, and has since expanded into ten lines covering Honshu, Kyushu, and Hokkaido at speeds up to around 320 km/h. It’s also one of the safest rail systems on earth: since that first train in 1964, the network has carried well over 10 billion passengers without a single passenger fatality caused by a train accident.
Six different JR companies operate different parts of the network, which is exactly why passes, ticket platforms, and even which trains show up on which line all vary depending on where you’re headed.
Step 1: Figure out which lines your trip actually needs
Before anything else, it helps to see the network as a shape rather than a list of names. The lines radiate out from Tokyo in three directions: south toward Osaka, Hiroshima, and Kyushu; north toward Sendai, Aomori, and Hokkaido; and inland toward Nagano, Kanazawa, and Niigata. Two more, the Akita and Yamagata Shinkansen, branch off the northern route on converted regional track.
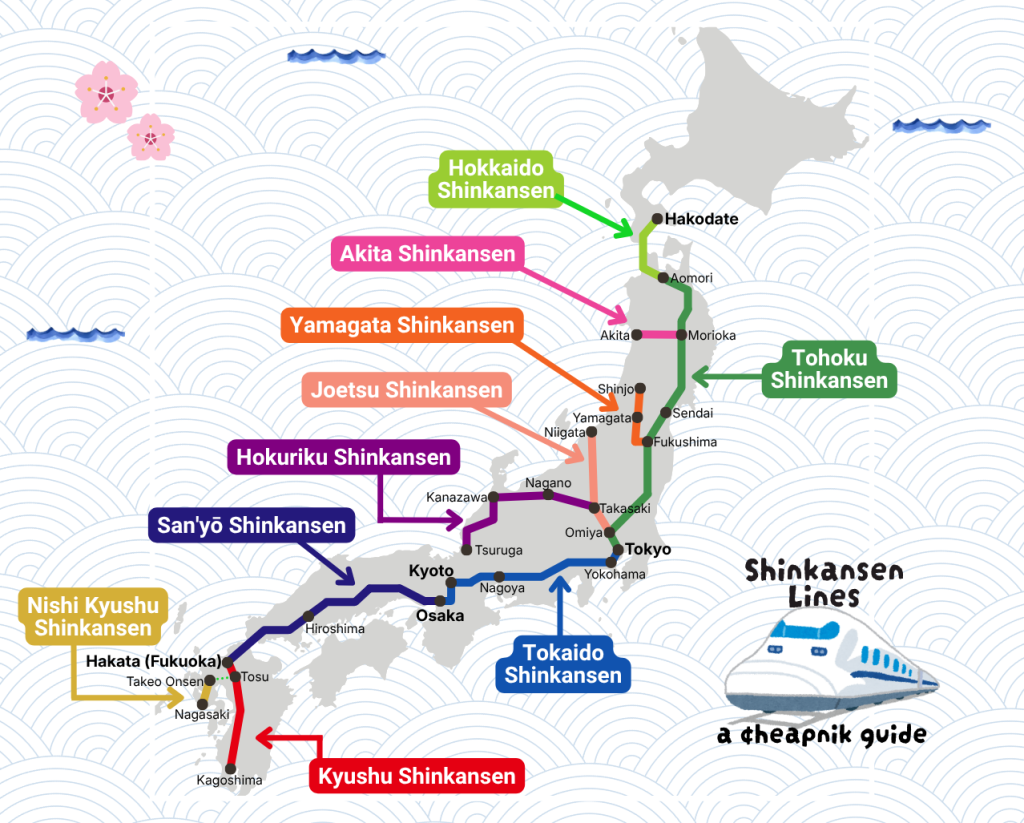
Knowing this shape up front means you can build a route that actually makes geographic sense instead of zigzagging across the country. I’ve laid out all ten lines, grouped by direction with the stops for each, in my full Shinkansen lines and routes guide.
Step 2: Understand Nozomi, Hikari, and Kodama
Here’s where a lot of first-timers get tripped up – the line name and the train name are two different things. This section covers the Tokaido and Sanyo Shinkansen specifically, the Tokyo-Osaka-Hiroshima-Fukuoka corridor most first-time visitors ride, since that’s where Nozomi, Hikari, and Kodama actually run. Head north to Tohoku or inland to Hokuriku instead, and you’ll see different train names altogether (Hayabusa and Hayate on the Tohoku line, Kagayaki and Hakutaka on the Hokuriku line, for example), with the same basic idea: fewer stops means a faster, pricier train.
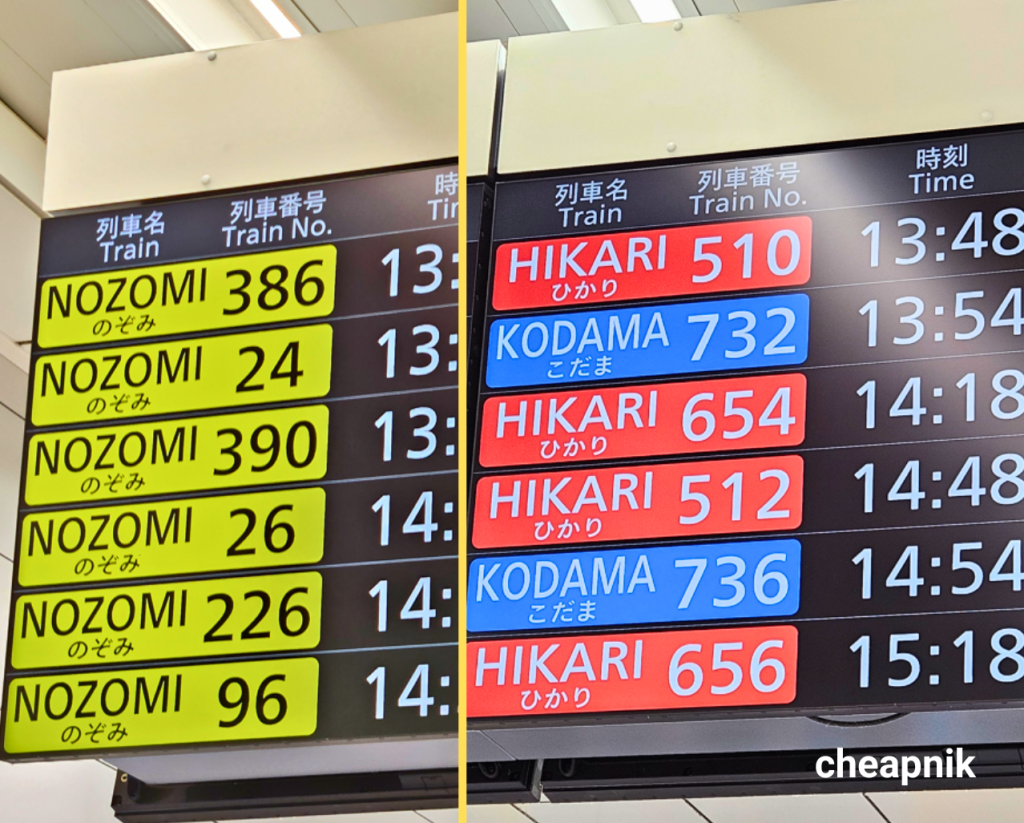
On the Tokaido and Sanyo lines, you’ll choose between:
- Nozomi: Fastest, fewest stops, most frequent, but not covered by the standard JR Pass.
- Hikari: A handful more stops, maybe 20-30 minutes slower, fully covered by the JR Pass.
- Kodama: Stops everywhere, takes noticeably longer, also fully covered by the JR Pass.
The fare difference between all three is small if you’re paying per ticket, so the real decision usually comes down to your schedule and whether you’re using a pass. I go through the full comparison, including a peak-season rule that limits Nozomi specifically during Golden Week, Obon, and New Year, in my Nozomi vs Hikari vs Kodama breakdown.
Step 3: Decide if a pass is worth it
This is probably the biggest question of them all, and the honest answer is: it depends entirely on your itinerary.
- The nationwide JR Pass makes sense if you’re covering multiple regions in a short window, Tokyo to Kyoto to Hiroshima, for example. It doesn’t cover Nozomi or Mizuho without an extra supplement, and pricing needs to be weighed against what you’d pay buying tickets individually. Full cost breakdown in my JR Pass guide.
- Regional passes are almost always the better deal if your trip stays inside one area, Kansai, Kyushu, Hokkaido, and several others each have their own pass, some of which even include Nozomi and Mizuho within their zone, unlike the nationwide pass. I’ve mapped out every region’s options in my JR regional passes guide.
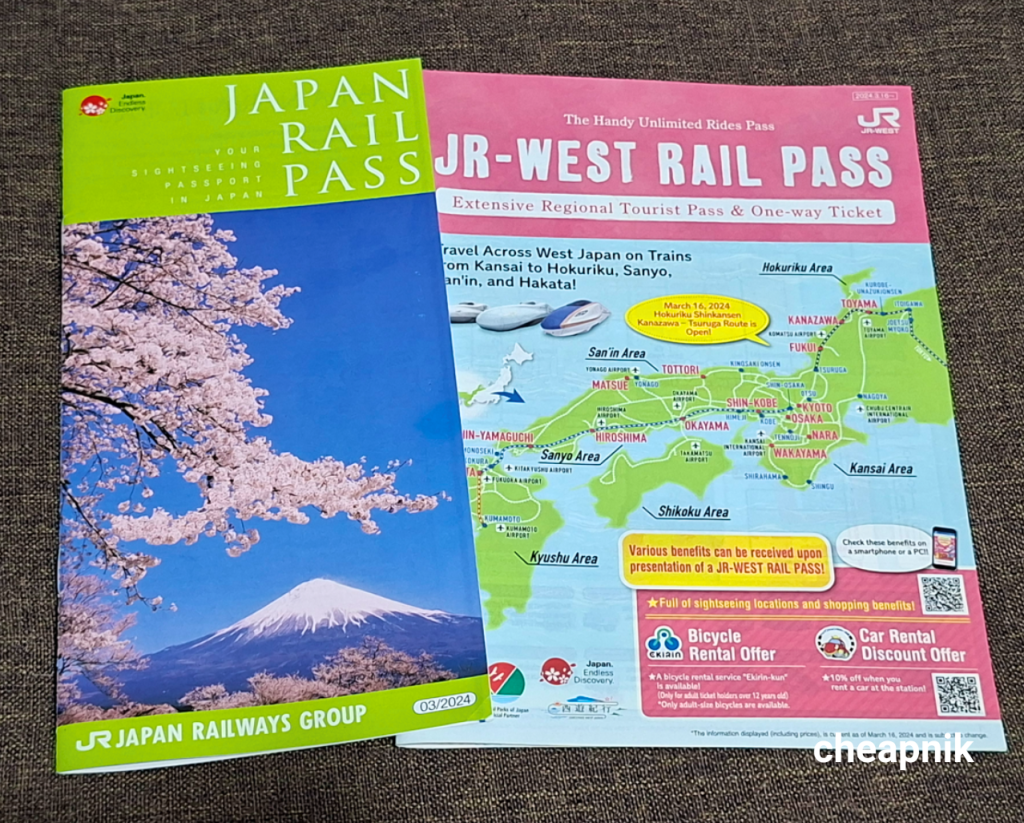
If you’re not sure which category your trip falls into, that’s genuinely the first thing to figure out, since it changes almost every other decision below.
Step 6: Sort out your luggage plan
If you’re traveling with just a small backpack, no need to even fuss about this step (this step does not apply to you because the train have ample space for smaller items – no need to plan ahead for it).
But if you’re traveling with a large suitcase, there’s one number to remember: 160cm and over. On the Tokaido, Sanyo, Kyushu, and Nishi-Kyushu Shinkansen, any bag with combined height, width, and depth over that threshold needs a free reservation for a seat with a designated luggage area, or you’ll face a ¥1,000 penalty at the gate. If you’d rather not haul a big bag onto the train at all, Japan’s luggage forwarding network (takkyubin) can ship it ahead to your next hotel overnight.
Everything on sizing, booking the oversized seat, and forwarding services is in my Shinkansen luggage guide.
Step 4: Book your tickets
Once you know your route and seat class and whether you’re using a pass, you’ve got several ways to actually book:
- SmartEX, the official platform for the Tokaido, Sanyo, and Kyushu lines.
- JR-EAST Train Reservation (Eki-net), for anything north or inland of Tokyo.
- Station machines and staffed counters, the universal fallback, and required for JR Pass reservations.
- Klook or Trip.com, solid if you want an English interface and flexible payment before you even land.
Each has its own quirks worth knowing before you commit, especially around card acceptance and coverage. Check out my full comparison, in my guide to buying Shinkansen tickets.
The two routes almost everyone rides
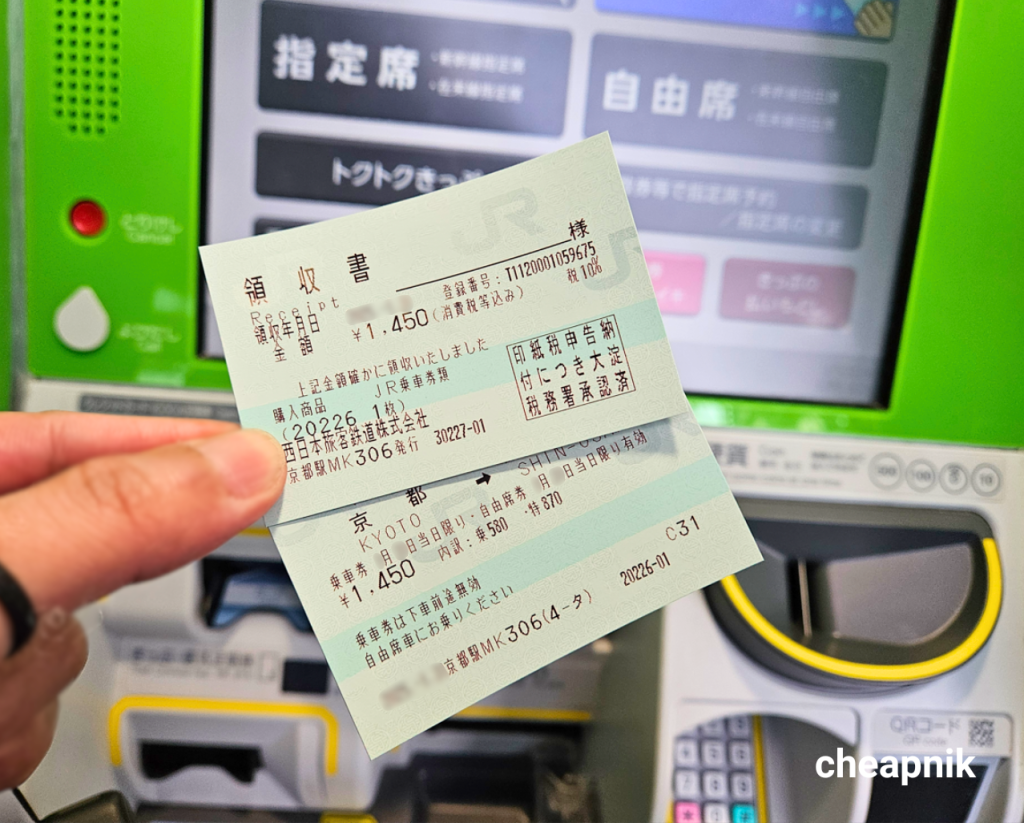
If your trip includes the classic Tokyo-Kyoto-Osaka stretch, I’ve written dedicated route guides covering exact prices, travel times, station quirks, and the best seat for a Mount Fuji view:
- Tokyo to Osaka by Shinkansen, including the one station mix-up (Shin-Osaka, not Osaka Station) that catches almost every first-timer.
- Tokyo to Kyoto by Shinkansen, the more straightforward of the two, with no station switcheroo to worry about.
Step 5: Know how to actually board
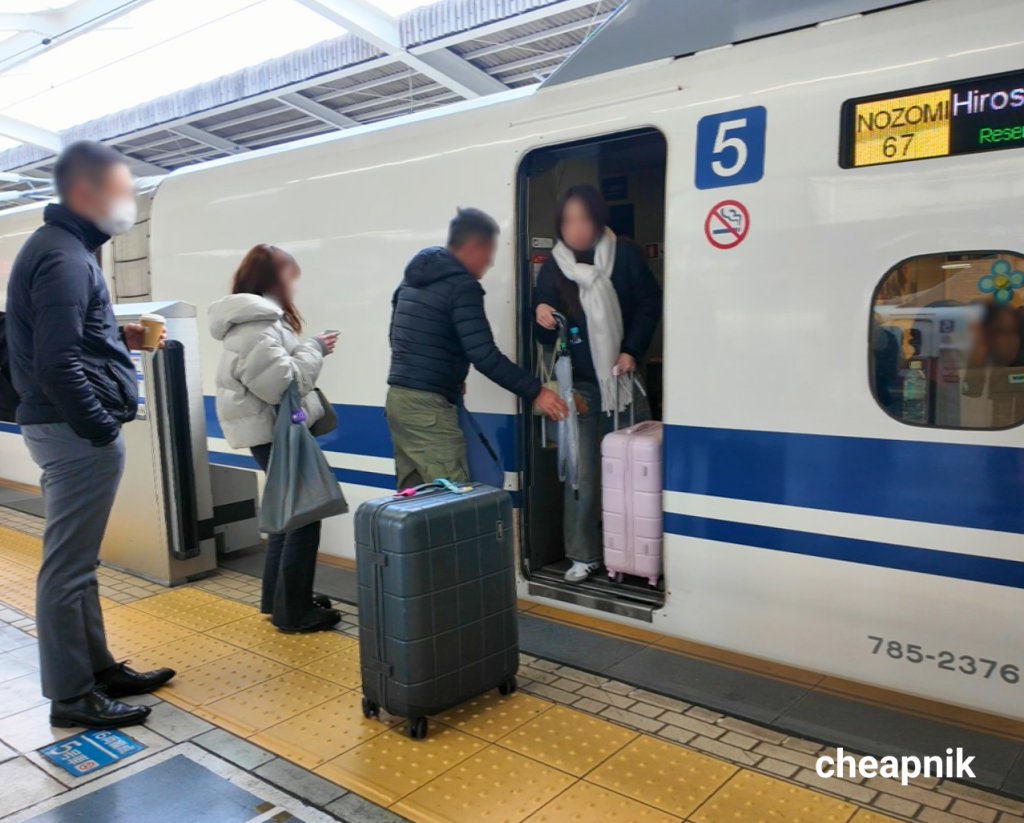
This is the part that causes more platform panic than anything else on this list, finding your platform, finding your car’s exact stopping position, and boarding within a window that might only last a minute or two. Your ticket carries key pieces of information (date/time, destination, train name/number, car number, and seat number if reserved), and platforms mark exactly where each car will stop with floor and overhead signage.
I’ve walked through the entire sequence, from reading your ticket to onboard etiquette, in my Shinkansen boarding and platform guide.
Step 7: Don’t skip the ekiben
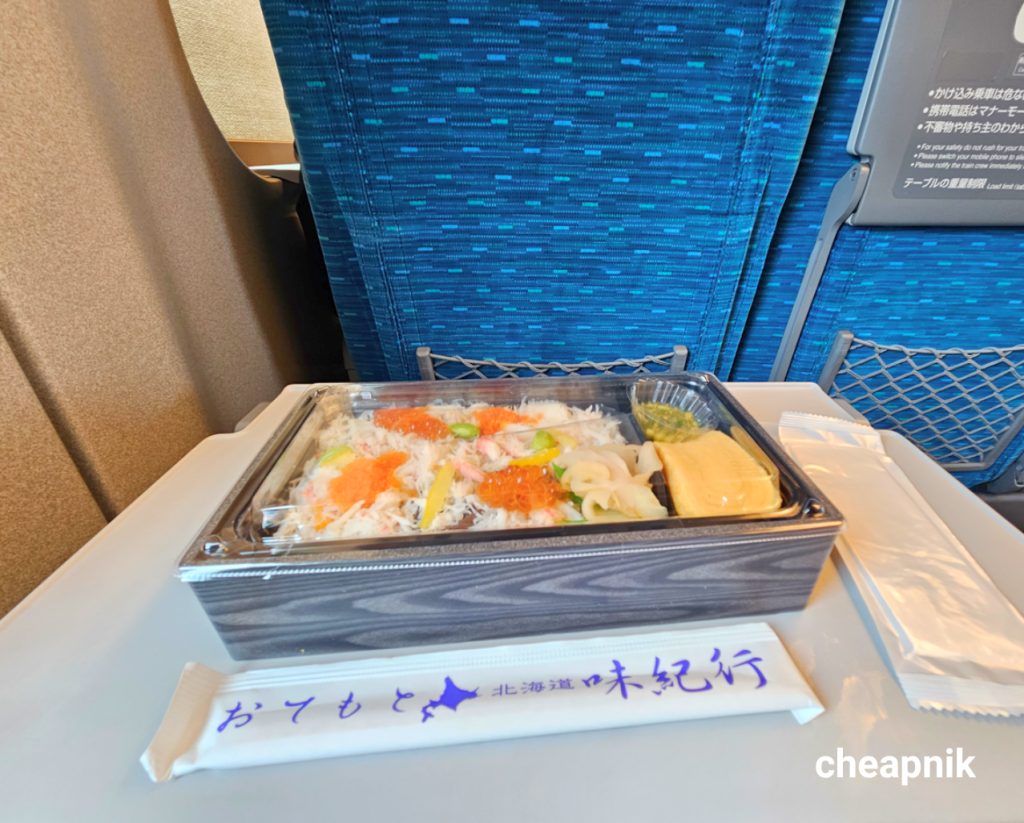
Once you’re actually settled into your seat, station bento (ekiben) are genuinely one of the most enjoyable parts of Shinkansen travel, and eating on board isn’t just accepted, it’s part of the tradition. Regional ekiben are built around what a specific place is known for, sometimes only sold at a single station in the entire country, which makes them a pretty unique way to taste your way through a region.
I go through the categories, where to actually find one, and how to make trying them part of your trip in my ekiben guide.
Quick answers to common questions
Do I need to reserve a seat? Not always, unreserved seating is cheaper and available on most trains, but reserved seats guarantee you a spot during busy periods and are required if you’re checking oversized luggage.
Is the Shinkansen expensive? It’s not cheap per ticket, but it’s often comparable to or cheaper than flying once you factor in getting to and from airports, and a pass can bring the per-trip cost down significantly if your itinerary suits one.
How far in advance should I book? For most routes, a few days ahead is plenty outside peak season. During Golden Week, Obon, and New Year, book as early as possible, some trains and oversized luggage seats do sell out.
Can I bring food on board? Yes! 🙂 Buying an ekiben before boarding is part of the experience, not an exception to it.
What if I miss my train? Unreserved tickets let you board any later train the same day. Reserved tickets generally need to be reissued at a counter or machine, which is exactly why building in a platform buffer matters.
Fares, schedules, and rules referenced throughout this guide are subject to change. Confirm current fares and departure times before booking.


